Brocade Communications Systems Mobility 7131 Series Installation Guide Page 25
- Page / 65
- Table of contents
- BOOKMARKS
- Brocade Mobility 1
- 7131N-FGR Access Point 1
- Document History 2
- Table of Contents 3
- 5 Regulatory Compliance 47 4
- About This Document 5
- Document conventions 6
- Contacting Brocade 6
- Warranty coverage 7
- 1Introduction 9
- Warnings 10
- Site preparation 10
- 2Hardware Installation 13
- Package contents 14
- Access point placement 15
- Antenna options 15
- Mounting the access point 16
- • Two wall anchors 17
- 53-1001948-01 19
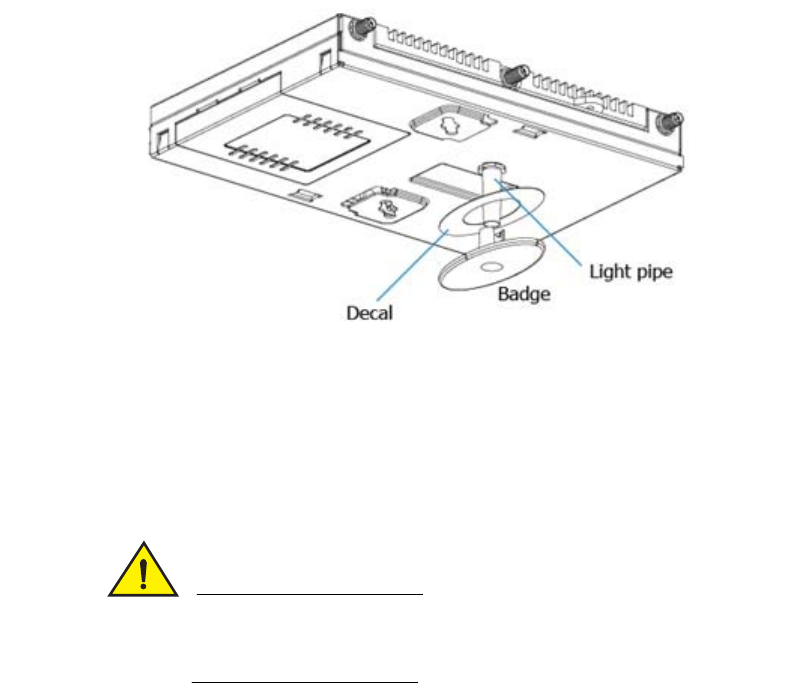
- • Light pipe 23
- • Badge for light pipe 23
- • Decal for badge 23
- • Security cable (optional) 24
- LED indicators 26
- Dual radio (2.4/5 Ghz) LEDs 28
- 3Basic Configuration 31
- Configuring the access point 33
- Point Dual Radio SKU 38
- Configuring basic security 43
- Broadcast Key Rotation 45
- Update broadcast keys 45
- Defining an IPSec VPN tunnel 46
- Tunnel Name 47
- Interface name 47
- Local WAN IP 48
- Remote Subnet 48
- Remote Subnet Mask 48
- Remote Gateway 48
- Station Address 49
- Number of ping 49
- Packet Length 49
- Where to go from here? 50
- 4Specifications 52
- Radio characteristics 53
- 5Regulatory Compliance 55
- Safety information 56
- Country Selection 57
- Operation in the US 57
- Radio transmitters (Part 15) 58
- Radio transmitters 58
- Statement of compliance 59
- Class B ITE 60
- Autstralia 60
© 2020, manymanuals.com. All rights reserved. | 0.296 s |
 Manymanuals.com
 Manymanuals.de
 Manymanuals.fr
 Manymanuals.it
 Manymanuals.pl
 Manymanuals.cz
 Manymanuals.es
 Manymanuals-pt.com
Comments to this Manuals